
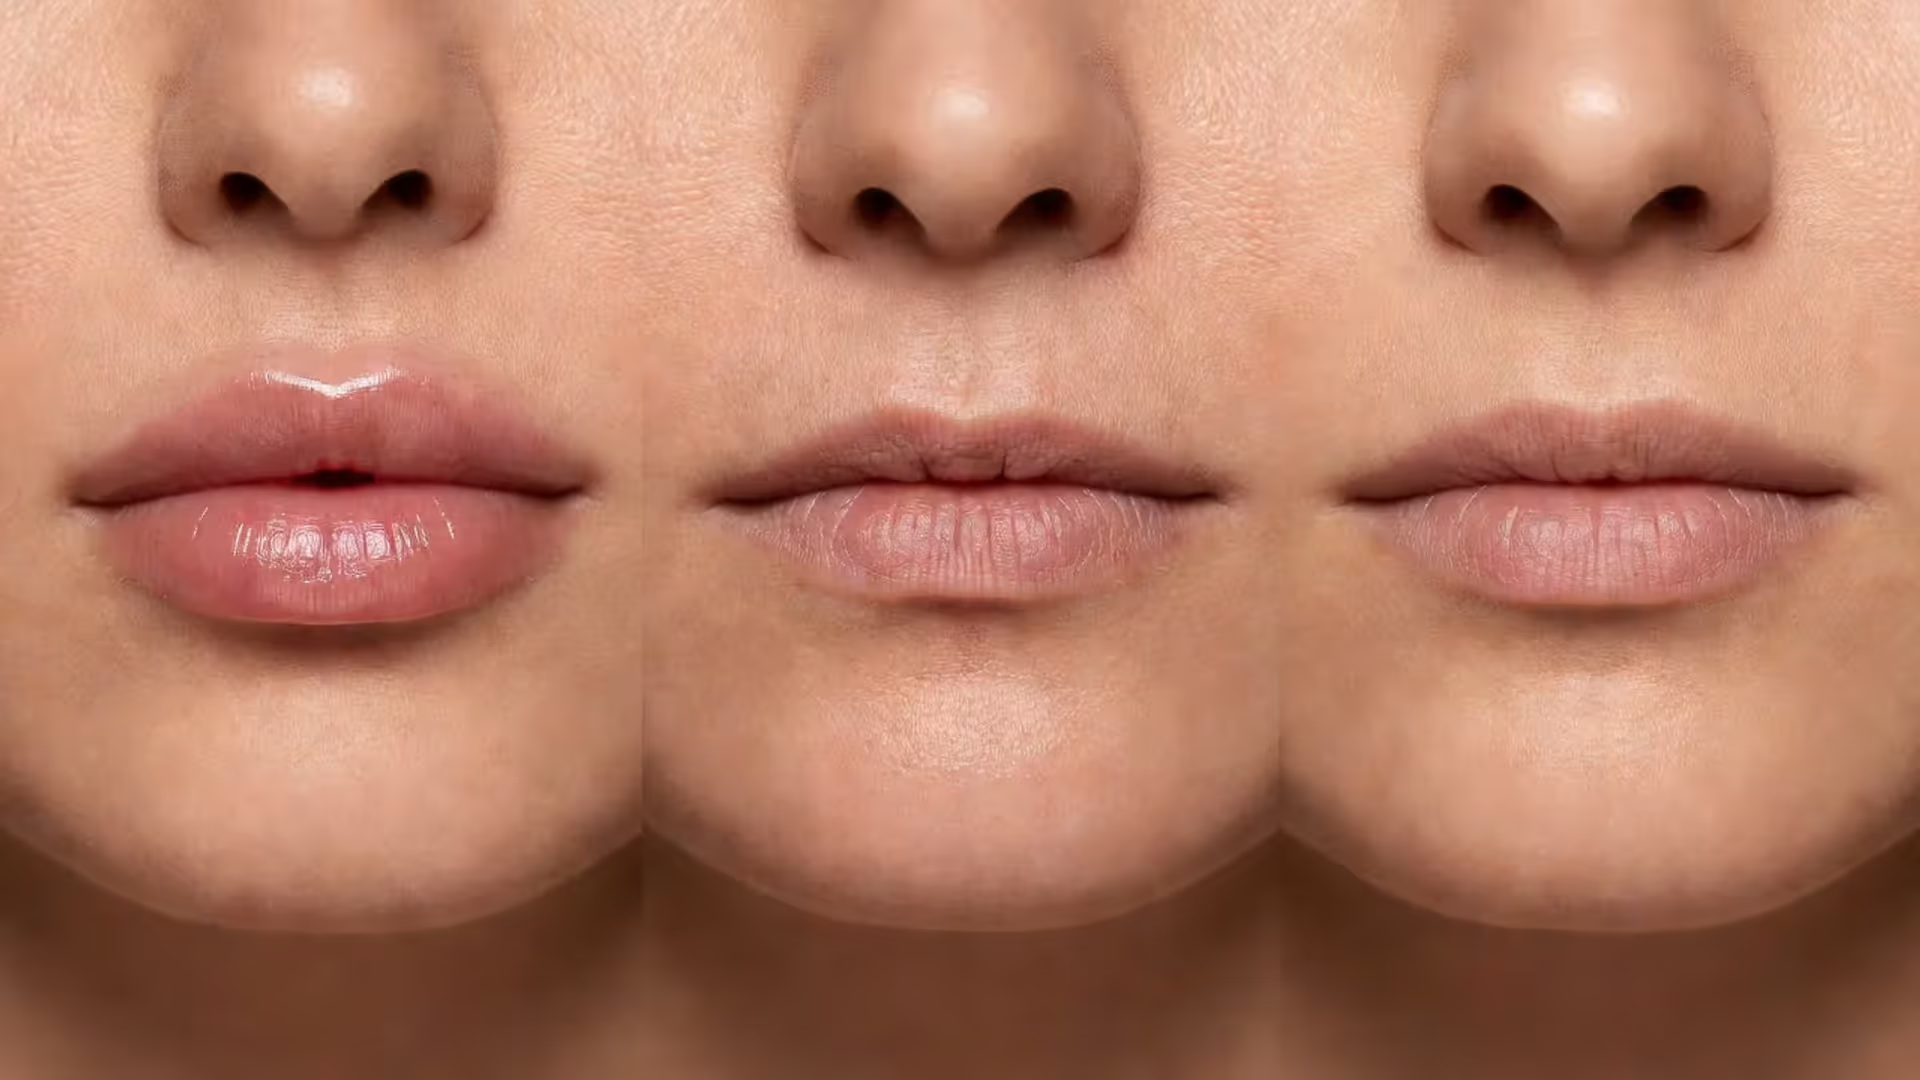
Dissolving Lip Filler Stages Explained from Day One to Full Results
Dissolving Lip Filler Stages Explained

Deciding to dissolve your lip filler isn't a small choice. Whether the shape didn't turn out right, the volume feels like too much, or you simply want to start fresh, the process raises a lot of questions — and most of them center on what your lips are actually going to look like while it's happening. The dissolving lip filler stages aren't always talked about honestly, and that gap leaves a lot of people unprepared for the deflation, unevenness, and waiting that come before the final result.
This guide walks you through the full timeline, the visual changes at each stage, and what to realistically expect before, during, and after the process.
What Dissolving Lip Filler Actually Does to Your Lips
Most lip fillers on the market today are made from hyaluronic acid, a substance your body already produces naturally. It attracts water, which is what gives filled lips that plump, cushioned look. When you decide to dissolve filler, a provider injects hyaluronidase — an enzyme that breaks down the HA molecules directly.
It's not a slow fade. Hyaluronidase works fast. Within hours, the enzyme starts dismantling the filler structure, and the water it was holding gets released and reabsorbed by surrounding tissue. The result is rapid volume loss, which is why so many people are caught off guard by how quickly their lips deflate.
The amount of enzyme used matters. A small dose targets partial dissolution; a full dose removes most or all of the filler. Your provider should walk you through the expected outcome before they inject anything. If they don't, ask.
One counterintuitive point: dissolving filler doesn't automatically restore your pre-filler lips. Repeated filler over time can stretch tissue slightly, and the enzyme itself can temporarily affect your natural HA. Your lips may look slightly deflated or different from your baseline — at least for a few weeks.
The Dissolving Lip Filler Stages Day by Day
The process doesn't happen all at once. There's a clear progression, and knowing what to expect at each stage makes the experience far less stressful.
Most patients are surprised by how dramatic the first 48 hours look. I always tell people: what you see on day two is not your final result. The swelling from the enzyme itself distorts everything. Give it two full weeks before you judge the outcome.
— Hartman Shawn
Hours 1–24 — Swelling, Redness, and Initial Breakdown
Right after the hyaluronidase injection, your lips will swell. Not from filler — from the injection itself and the inflammatory response the enzyme triggers. There's often redness, tenderness, and a feeling of tightness or heat. Some people notice small bumps or lumpiness as the filler structure starts breaking apart unevenly.
Don't panic at this stage. The swelling can actually make your lips look temporarily larger than they did with filler. That's misleading. The breakdown is happening underneath, even if the outside doesn't show it yet.
Cold compresses help with comfort. Avoid pressing or massaging the area unless your provider specifically tells you to. Some bruising is normal, especially if you bruise easily.
Days 2–4 — Deflation and Uneven Texture
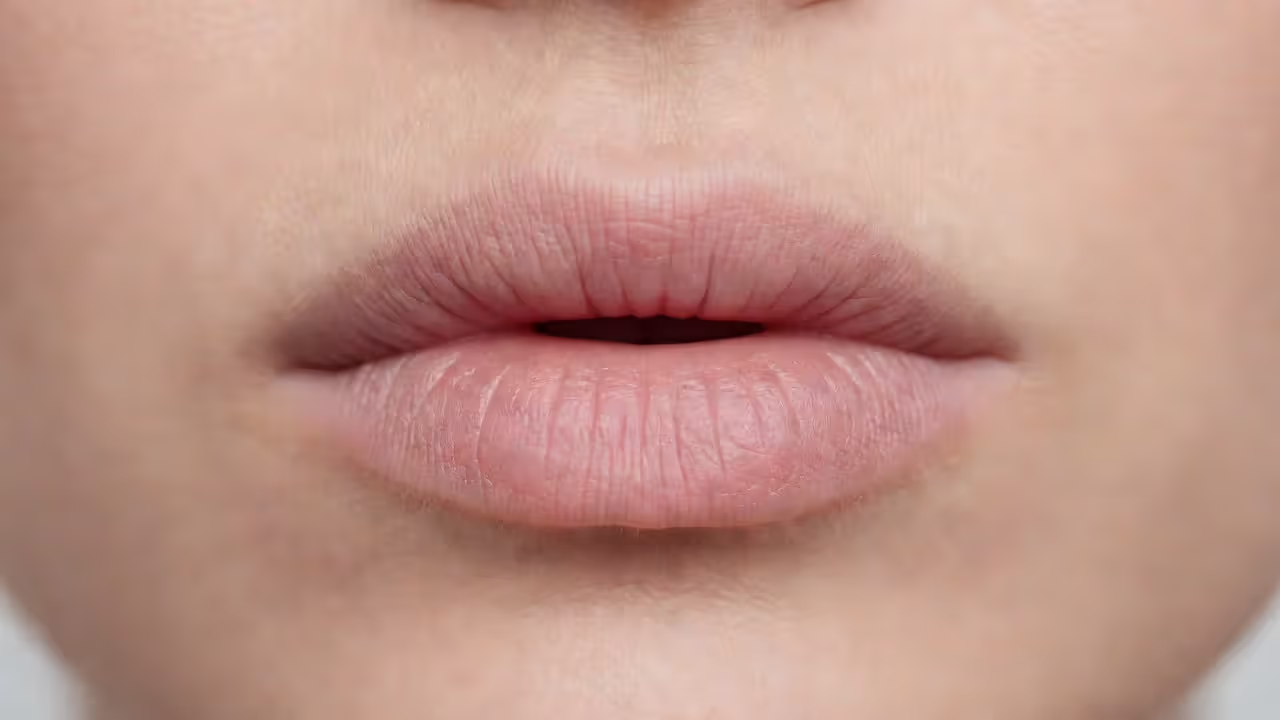
This is the stage that catches people off guard. By day two, the swelling starts to subside and the filler volume drops noticeably. In most cases, lips look significantly smaller — sometimes smaller than they did before any filler. That's because the enzyme can temporarily disrupt your natural hyaluronic acid too.
Unevenness is common here. One side may deflate faster than the other. The upper lip might look flat while the lower lip still has some shape. The texture can feel different — softer, almost hollow in spots. This is normal and temporary.
The pattern I see most often described in patient accounts is a kind of "deflated balloon" look around day three. It's uncomfortable to see, but it's part of the process.
Author: Vivienne Ashmore;
Source: juneoils.com
Days 5–14 — Settling and Final Lip Shape
By the end of the first week, most of the dramatic changes have happened. Swelling from the enzyme has resolved. The remaining filler — if any was left intentionally — has settled. Your lips start to look more like themselves again.
The full two-week mark is when providers typically reassess. By day 14, you're seeing close to your actual result. If you still have asymmetry or texture concerns after two weeks, a follow-up appointment makes sense. Some people need a small touch-up of enzyme to address residual filler in specific spots.
Patience is genuinely the hardest part of this stage. But the two-week rule exists for a reason.
What Your Lips Look Like at Each Stage — Before and After
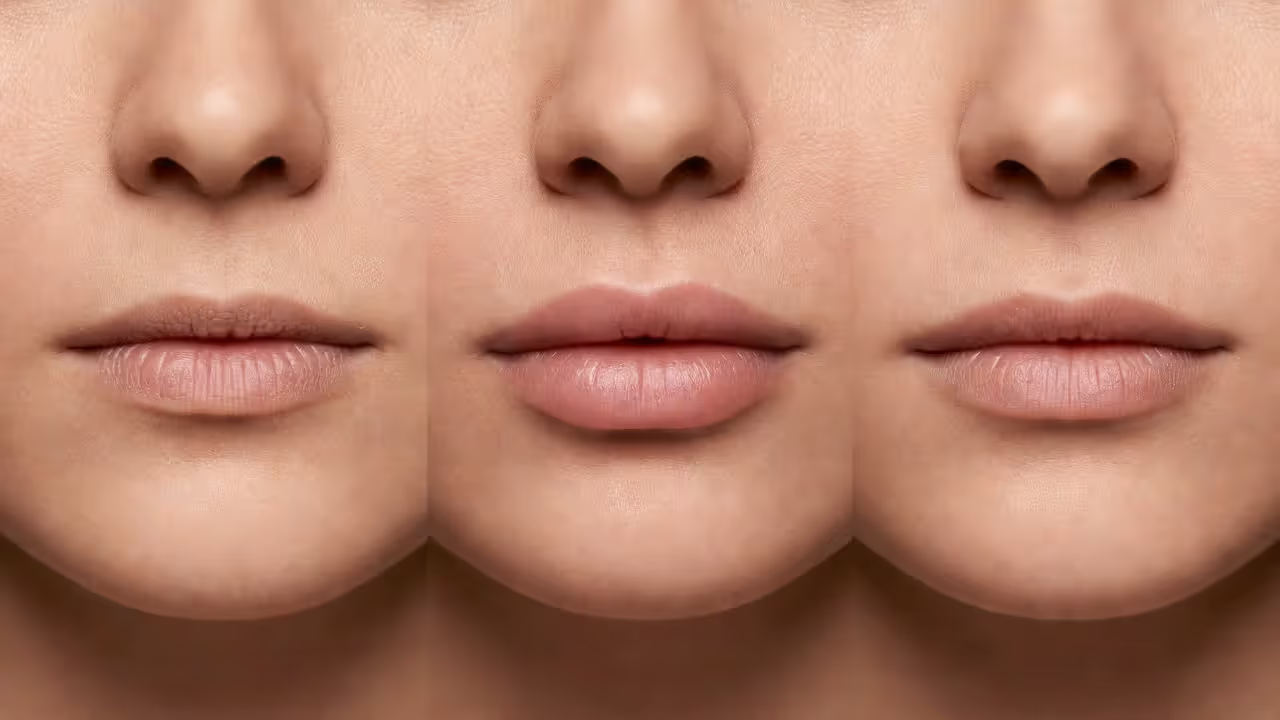
Visual expectations vary a lot depending on how much filler you had to begin with. A half syringe dissolves differently than 1 ml, and 1 ml looks different from 1.5 ml — especially on naturally thin lips.
For a realistic 1ml lip filler before and after on thin lips: the before typically shows lips with minimal natural volume, and the after (with filler) shows noticeable but not dramatic plumping. When that 1 ml is dissolved, the return to baseline can look more dramatic than expected — thin lips that were subtly enhanced suddenly look quite flat during the deflation stage.
A lip filler half syringe before and after tends to show subtler changes overall. Less volume means less dramatic deflation, and the dissolving stages are usually milder in appearance.
| Filler Volume | Typical Before-and-After on Thin Lips | Approximate Dissolution Timeline | Likelihood of Visible Deflation During Stages |
| 0.5 ml (half syringe) | Subtle plump, minimal shape change | 5–10 days for full resolution | Low to moderate — change is noticeable but mild |
| 1 ml (full syringe) | Clear volume increase, defined border | 7–14 days for full resolution | Moderate to high — deflation is visible, especially days 2–5 |
| 1.5 ml | Significant fullness, possible projection | 10–21 days for full resolution | High — staged dissolution often recommended |
Author: Vivienne Ashmore;
Source: juneoils.com
The 1 ml of lip filler before and after is the most commonly searched scenario because it's the most common starting point. One syringe is standard for a first treatment. And one syringe fully dissolved on thin lips can produce a before-and-after that looks more extreme than people expect — not because anything went wrong, but because the contrast is simply more visible on lips with less natural volume.
How Long the Dissolution Process Takes Compared to Natural Fading
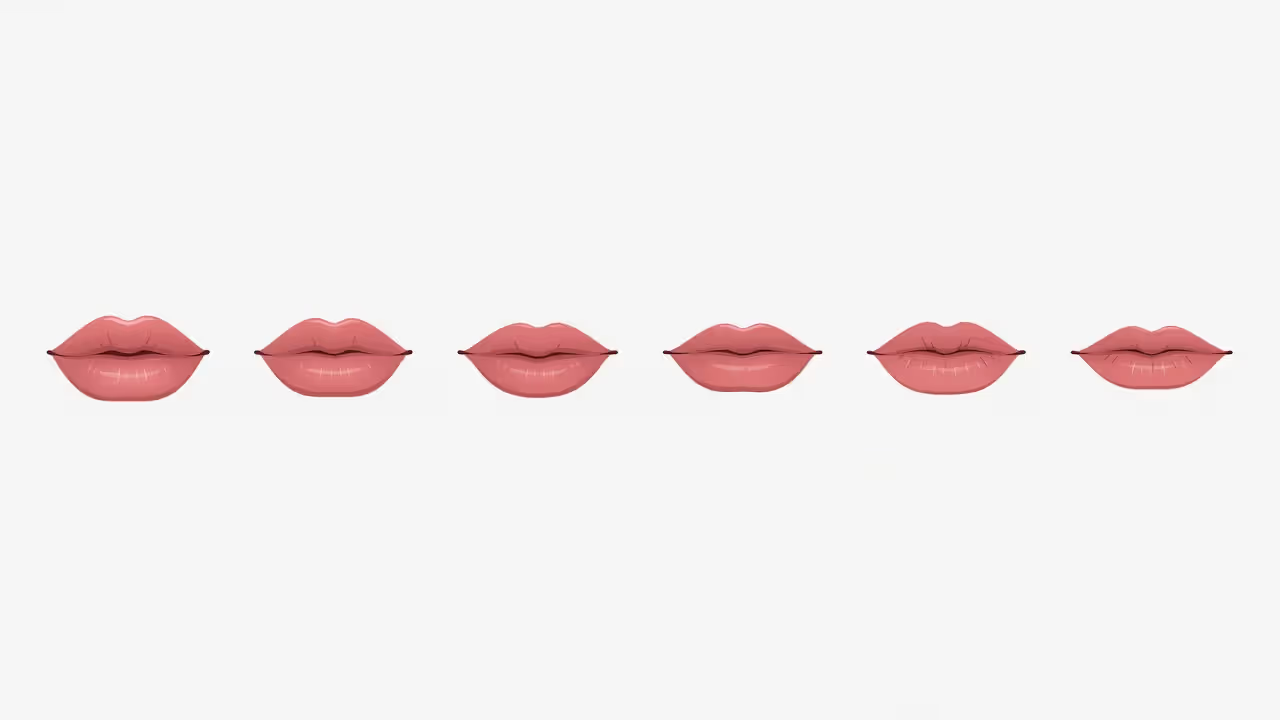
So how long does lip filler last if you just wait it out? Most HA fillers break down naturally over 6 to 18 months depending on the product, your metabolism, and how much movement the area gets. Lips move constantly — talking, eating, smiling — which accelerates natural breakdown compared to, say, cheek filler.
Hyaluronidase collapses that timeline to days. That's the main reason people choose dissolution over waiting: speed and control.
But there's a tradeoff. Natural fading is gradual, so you barely notice the change week to week. Dissolution is abrupt. The stages are compressed, which means the deflation and unevenness that would have happened slowly over a year happen visibly over a few days. That's not a problem — it's just something to be prepared for.
If you had 1 ml placed 6 months ago, some of it has already faded naturally. Dissolving at that point typically produces less dramatic deflation than dissolving fresh filler at the 4-week mark.
Author: Vivienne Ashmore;
Source: juneoils.com
What to Expect After Lip Filler Dissolving Is Complete
Once you're past the two-week mark and fully settled, here's what most people experience: lips that feel softer and lighter, with texture that's closer to natural tissue. Any firmness or resistance from the filler is gone.
In terms of appearance, most people return close to their pre-filler baseline — but not always exactly. If you had filler for a year or more, your lips may have adapted slightly to the added volume. They'll typically return to normal within a few weeks as your natural HA production stabilizes.
What to expect after lip filler dissolving is also about the emotional side. Some people feel relieved. Others feel a sense of loss, especially if they were used to the volume. That's completely normal. Give yourself the full two weeks before making any decisions about retreatment.
Aftercare is simple: stay hydrated, avoid heavy sun exposure for a few days, skip intense exercise for 24–48 hours, and don't get any new injections for at least two weeks. Most providers recommend waiting four weeks before refilling, to let tissue fully stabilize.

Author: Vivienne Ashmore;
Source: juneoils.com
Common Questions About Timing, Touch-Ups, and Retreatment
Partial dissolution is possible and more common than people realize. If you loved the shape but had too much volume, a skilled provider can use a smaller amount of hyaluronidase to reduce — not eliminate — the filler. This takes precision, and results are less predictable than full dissolution, but it works in many cases.
For half syringe scenarios: if you started with 0.5 ml and want it gone, the dissolving stages are typically shorter and less dramatic. Full resolution often happens within a week. Retreatment with another half syringe, if desired, can usually happen at the four-week mark.
The question of when to refill after dissolving is one of the most common. The standard answer is two to four weeks. Two weeks is the minimum — enough time for swelling to fully resolve and tissue to stabilize. Four weeks is the safer choice if you want the cleanest starting point for new filler placement.
FAQ: Dissolving Lip Filler Questions Answered
The dissolving lip filler stages are temporary, predictable, and manageable — once you know what's actually happening. The deflation looks dramatic in the middle of the process, but it's not permanent. Give your lips the full two weeks to settle, follow basic aftercare, and hold off on any decisions about retreatment until you're seeing your true baseline. That's when the real conversation about next steps begins.
Related Stories
Read more

Read more


The content on this website is provided for general informational and educational purposes only. It is intended to explain concepts related to cosmetology, hair care, skincare, aesthetic treatments, and beauty procedures.
All information on this website, including articles, guides, and examples, is presented for general educational purposes. Results may vary depending on individual skin type, hair type, or treatment protocols.
This website does not provide professional medical, dermatological, or cosmetic services, and the information presented should not be used as a substitute for consultation with licensed aestheticians, dermatologists, or medical professionals.
The website and its authors are not responsible for any errors or omissions, or for any outcomes resulting from decisions made based on the information provided on this website.